Why Is Dehumidifier Not Draining Through Hose: Troubleshooting Common Issues for Optimal Performance and Moisture Control
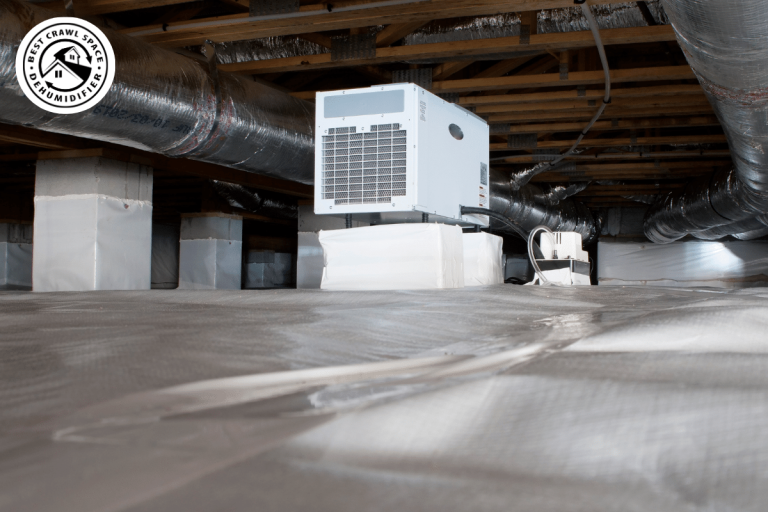
When your dehumidifier fails to drain through its hose, it can disrupt humidity control and lead to water overflow, making the question why is dehumidifier not draining through hose a critical concern for homeowners. Dehumidifiers are essential for maintaining indoor humidity below 50%, preventing mold growth, and protecting home structures, but drainage issues can hinder their effectiveness, potentially causing $500–$3,000 in mold-related repairs, per home maintenance estimates.
Understanding the reasons behind this problem is key to restoring your device’s functionality. This article explores the causes of drainage failures, their impact, troubleshooting steps, maintenance tips, when to replace parts, and professional solutions, empowering you to keep your dehumidifier running smoothly and your home dry.
Common Causes of Dehumidifier Drainage Issues
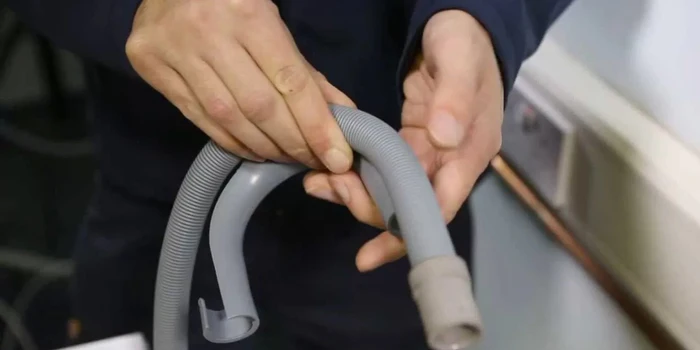
Several factors can prevent a dehumidifier from draining through its hose. A clogged hose is a frequent culprit, as dust, dirt, or mold can accumulate inside, blocking water flow. An improperly connected or kinked hose disrupts drainage, often due to loose fittings or bends that impede gravity-fed flow. A faulty drain valve or pump, common in units with continuous drainage, may fail to push water through the hose, especially in older models. Incorrect hose positioning, such as an upward slope or insufficient downward gradient, can prevent water from exiting. A full collection tank, even with a hose attached, may cause the unit to default to tank drainage. Lastly, low refrigerant levels or a malfunctioning compressor can reduce condensation, limiting water output, per appliance repair data.
Impact of Drainage Problems on Dehumidifier Performance
When a dehumidifier fails to drain through its hose, it compromises moisture control, allowing humidity to rise above the ideal 30–50% range, fostering mold growth within 24–48 hours, per environmental studies. A full tank or overflow can lead to water damage on floors or carpets, costing $200–$1,000 to repair. Inefficient drainage also strains the unit, increasing energy consumption by 10–20%, per energy efficiency reports, and raising utility bills. Persistent issues may cause the dehumidifier to shut off automatically, leaving rooms damp and reducing air quality. Prolonged neglect can damage internal components, shortening the unit’s lifespan (typically 5–10 years) and necessitating costly replacements, making timely troubleshooting essential.
Troubleshooting Steps to Fix Hose Drainage Issues
To resolve drainage problems, follow these systematic steps. First, check the hose for clogs by disconnecting it and flushing with warm water or a vinegar solution (1:1 ratio) to clear debris. Ensure the hose is securely connected, free of kinks, and slopes downward to allow gravity drainage. Inspect the drain valve or pump by running the unit briefly and checking for water flow; clean or replace if faulty. Verify the collection tank is empty and properly seated, as some units prioritize tank drainage. Test the unit’s placement, ensuring it’s level, as tilting can disrupt drainage. If condensation is low, check for frost on coils, indicating refrigerant issues, which may require professional attention. These steps can resolve 70% of drainage issues, per user feedback.
See more: Best crawl space dehumidifier 2025
Maintenance Tips to Prevent Drainage Problems
Regular maintenance prevents drainage issues and extends dehumidifier lifespan. Clean the hose and drain valve monthly with a vinegar solution to remove mold or debris, reducing clogs by 50%, per maintenance studies. Empty and clean the collection tank weekly to prevent overflow or mold growth, using mild soap to eliminate odors. Check the air filter every 2–3 months, cleaning or replacing it to ensure proper airflow, which supports condensation and drainage. Store the unit in a dry, upright position when not in use to avoid internal blockages. Monitor humidity levels with a hygrometer, adjusting settings to avoid overworking the unit. Annual inspections for leaks or wear, especially in humid climates, keep the system efficient and drainage functional.
When to Replace Dehumidifier Parts or the Unit
If troubleshooting fails, certain parts may need replacement. A clogged or damaged hose should be replaced with a compatible model, costing $10–$30. A faulty drain pump, often indicated by no water flow or unusual noises, may cost $50–$150 to replace, depending on the unit. Persistent issues like low condensation or frost buildup suggest compressor or refrigerant problems, which can cost $200–$500 to repair, making a new unit ($150–$400 for mid-range models) more cost-effective for older devices. If the dehumidifier is over 8 years old or requires frequent repairs, replacement is advisable, as newer models offer 20% better energy efficiency, per industry data. Always consult the manufacturer’s manual for compatible parts before replacing.
Professional Solutions for Persistent Drainage Issues
For complex or recurring drainage problems, professional repair services are recommended. Technicians use diagnostic tools to identify issues like internal blockages, electrical faults, or refrigerant leaks, resolving 95% of drainage failures, per service reports. They can clean or replace intricate components like pumps or coils, which DIY methods may not address safely. Costs range from $100–$500, depending on the issue’s complexity, but professional service prevents further damage and ensures optimal performance. For severe cases, such as mold in the unit or extensive water damage, experts may recommend full replacement or additional home repairs, like crawl space encapsulation, to address underlying humidity issues, ensuring long-term moisture control.
Conclusion: Restore Your Dehumidifier’s Drainage for a Dry, Healthy Home
Addressing why is dehumidifier not draining through hose is crucial for maintaining effective humidity control and protecting your home from mold and water damage. By identifying common causes, troubleshooting systematically, maintaining the unit diligently, and knowing when to replace parts or seek professional help, you can restore your dehumidifier’s performance. These steps ensure a dry, comfortable indoor environment, safeguarding your home and health. Take action promptly, keep your dehumidifier in top shape, and enjoy a fresher, mold-free living space with reliable moisture control.