Refinishing Your Basement: Transform Your Space with Expert Techniques for a Functional and Stylish Living Area
Refinishing Your Basement is a game-changer for homeowners looking to unlock the potential of their underutilized space, transforming a damp, unfinished basement into a cozy bedroom, home office, or entertainment hub. As a home repair enthusiast, I’ve seen how a well-executed refinishing project enhances home value and livability while preventing issues like mold or structural damage that can arise from neglect.
This SEO-optimized article provides a comprehensive guide, covering preparation steps, design planning, moisture management, construction techniques, finishing touches, and maintenance tips, empowering homeowners to create a durable, inviting basement space that elevates their home’s functionality and charm.
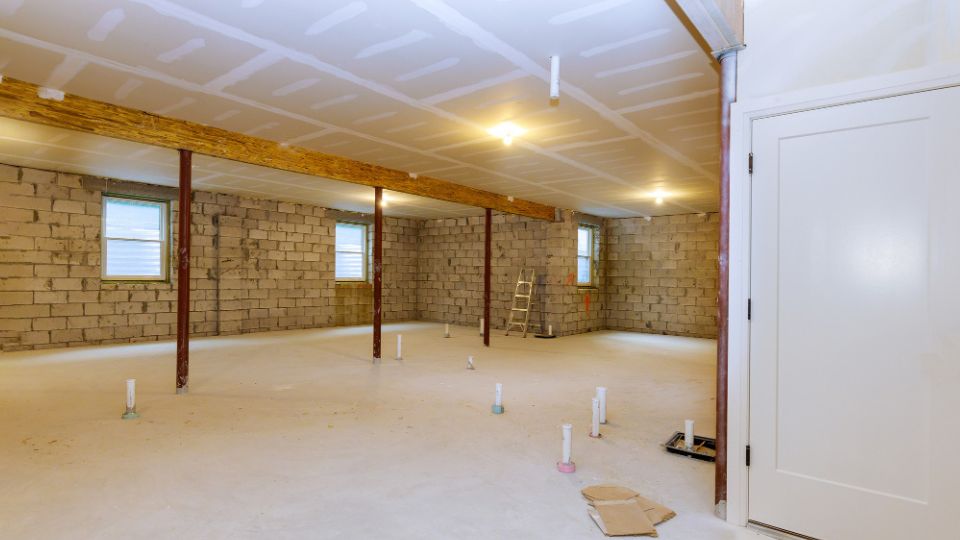
Preparing Your Basement for Refinishing
Preparation is the foundation of a successful basement refinishing project. Inspect for moisture using a moisture meter to ensure walls and floors are below 15% moisture content, addressing leaks with waterproofing sealants or drain tile to prevent mold growth within 24–48 hours, per environmental studies. Clear the space of debris and mark utility lines (electrical, plumbing) to avoid conflicts. Check building codes for permits, ceiling height (minimum 7 feet), and egress window requirements for safety. Test for radon with a home kit, as basements can trap this gas, per health guidelines. Thorough preparation, based on my experience, minimizes setbacks and ensures a smooth refinishing process.
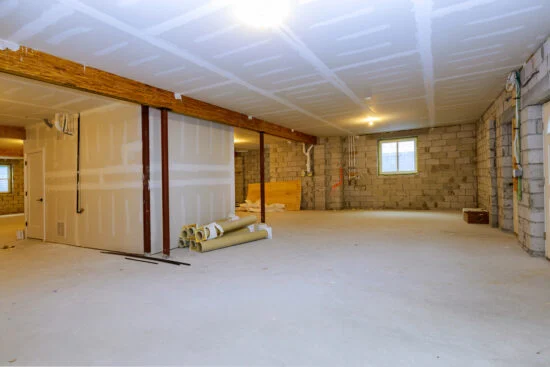
Planning Your Basement Design and Layout
A well-thought-out design maximizes functionality and aesthetics. Define the purpose—whether a family room, gym, or guest suite—and sketch a layout, accounting for natural light, HVAC ducts, and structural columns. Incorporate egress windows for safety and light, increasing usable space by 10–15%, per real estate data. Choose open or segmented layouts based on needs: open for entertainment, partitioned for bedrooms or offices. Select durable materials like vinyl flooring or moisture-resistant drywall for longevity. Plan electrical outlets (one every 12 feet, per code) and lighting for ambiance. A clear design plan aligns your vision with practical constraints, creating a cohesive, stylish space.
Managing Moisture for a Dry, Healthy Basement
Moisture control is critical to prevent mold and damage in basements. Install a vapor barrier (6-mil polyethylene) on walls before framing to block moisture from concrete, reducing humidity by 20–30%, per building studies. Use foam board insulation between studs to minimize condensation and improve energy efficiency. Add a sump pump or drain tile to manage groundwater, especially in wet climates. Maintain indoor humidity below 50% with a dehumidifier, monitored by a hygrometer. Seal cracks in the slab with polyurethane caulk to prevent seepage. These steps, drawn from years of hands-on work, ensure a dry, healthy basement that supports long-term use.
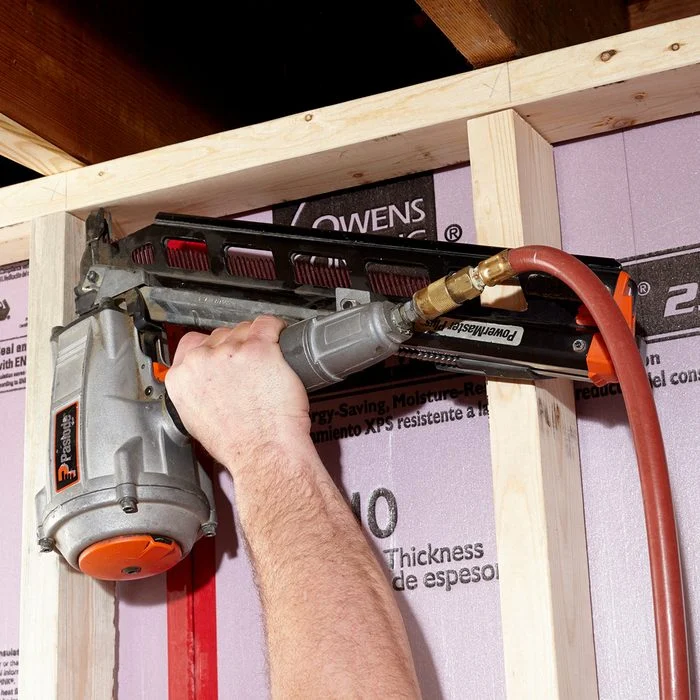
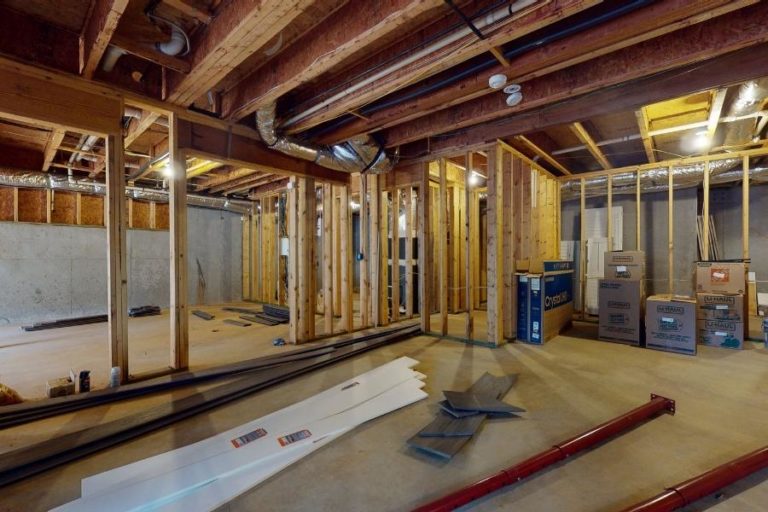
Construction Techniques for a Sturdy Basement Build
Solid construction creates a durable framework for your refinished basement. Frame walls with pressure-treated 2x4s for bottom plates to resist moisture, spacing studs 16 inches on-center for strength, per construction standards. Install insulation (fiberglass or foam) to reduce heat loss by 25%, per energy data, and soundproof with acoustic batting for quieter spaces. Hang moisture-resistant drywall, securing with screws every 12 inches, and tape joints for a smooth finish. Lay flooring like waterproof vinyl or sealed concrete, ensuring a level base. Precise techniques, like checking plumb with a level, ensure structural integrity and a polished result.
Adding Finishing Touches for Style and Functionality
Finishing touches transform your basement into a welcoming space. Paint with mildew-resistant primer and light colors to brighten the area, enhancing perceived space by 10–15%, per design studies. Install trim around doors, windows, and baseboards for a polished look, sealing gaps with caulk to prevent air leaks. Add lighting like recessed cans or LED strips for ambiance and functionality, ensuring 50–100 lumens per square foot. Incorporate storage with built-in shelves or cabinets to maximize space. Choose furniture that complements the design, like modular sofas for flexibility. These touches create a stylish, functional basement tailored to your vision.
Maintenance Tips for a Long-Lasting Basement
Ongoing maintenance preserves your refinished basement’s beauty and functionality. Inspect annually for moisture, cracks, or mold, using a moisture meter to ensure levels stay below 15%. Clean HVAC vents every 6 months to maintain air quality, reducing allergens by 20%, per environmental data. Run a dehumidifier during humid seasons to keep humidity below 50%. Check egress windows for leaks or debris, ensuring operability for safety. Repaint or reseal surfaces every 5–7 years to refresh the space and protect against wear. Regular care, informed by practical experience, keeps your basement vibrant and problem-free for years.
Conclusion: Elevate Your Home by Refinishing Your Basement
Refinishing Your Basement is a transformative project that unlocks valuable living space, blending functionality with style to enhance your home. By preparing thoroughly, planning a thoughtful design, managing moisture, using solid construction techniques, adding finishing touches, and maintaining diligently, homeowners can create a durable, inviting basement. With careful execution, your basement becomes a cozy, versatile space for years of enjoyment. Start your refinishing journey, follow these expert steps, and let your basement shine as a stylish, functional addition to your home.